
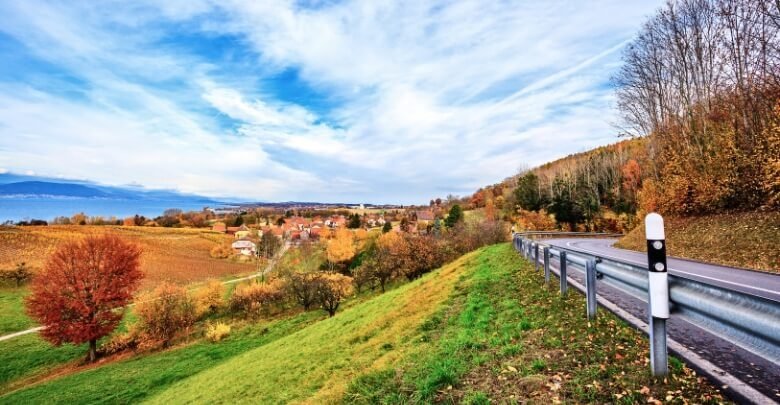
High Dynamic Range (HDR) photography captures a wider range of light and detail than standard photos, representing real-life scenes. Editing HDR photos can significantly boost the visual impact, bringing out vibrant details lost in shadows or highlights.
However, one common question that can pop up in your mind is “How to edit HDR photos in Photoshop?
The first thing you need to do is install Adobe Photoshop on your computer. Open the software and import your HDR photo by selecting ‘File’ -> ‘Open.’ Utilize the ‘Automate’ -> ‘Merge to HDR Pro’ feature to combine different exposures and adjust settings such as tone mapping and edge glow. This will perfect your image.
Are you curious to master HDR photo editing in Photoshop? Continue reading as we explore the tools and techniques that will propel your photography to new heights.
What Does the HDR Signify in Photography?
HDR in photography stands for High Dynamic Range, creating the photo’s depth by balancing light and dark areas. This technique captures multiple exposures of the same scene, blending them to highlight the finest details.
Using HDR, you can transform flat-looking images into vivid, eye-catching ones. It allows photographers to represent scenes more realistically or artistically, depending on their intent. For beginners and professionals alike, mastering HDR can significantly impact the quality of their portfolios.
When done correctly, HDR photography avoids harsh contrasts that plague images taken in mixed lighting conditions. It ensures that both highlights and shadows are well-detailed, providing a balanced and striking result. If you’re aiming to explore the full potential of your images, considering an affordable HDR photo blending service might be the next step.
Do You Find Photoshop Convenient for Editing HDR Photos?
Yes, Photoshop proves highly convenient for editing HDR photos. The software simplifies the process of editing photos, especially HDR photos, by blending multiple exposures smoothly. Its features allow precise control over the final image, ensuring superior results. Here are some reasons that make Photoshop convenient:
Comprehensive Toolset
Photoshop comes equipped with a variety of HDR editing tools. These tools help align and merge different exposures into one HDR image. This makes it easier to adjust lighting and contrast accurately. Users can refine details lost in standard photos.
Adjustment Layers and Filters
Adjustment layers in Photoshop facilitate non-destructive editing, which is crucial for fine-tuning HDR images. Filters can highlight details, add textures, or correct colors without altering the original image layers. This flexibility is essential for achieving HDR photography effects. Experimentation with these layers can yield stunning visuals.
Tone Mapping Capabilities
Tone mapping in Photoshop allows users to adjust the luminance of HDR images, which helps display them correctly on all devices. This process is vital for maintaining the dynamic range while keeping the photo natural. Photoshop provides customizable tone mapping settings. Depending on the user’s preference, these adjustments help achieve a realistic or artistic look.
Automation Features
Photoshop’s automation features speed up HDR editing. The ‘Merge to HDR Pro’ option automates multiple exposure blending. This is particularly useful for those dealing with large batches of photos. It ensures consistency across all images, which is often challenging in manual editing.
Extensive Support and Resources
Adobe Photoshop is supported by a vast community of users and professionals. Numerous tutorials and guides are available, making HDR editing easier for beginners. Advanced users can also find plugins and advanced scripts to optimize their workflow. The community provides continuous learning and support, which helps master HDR editing techniques.
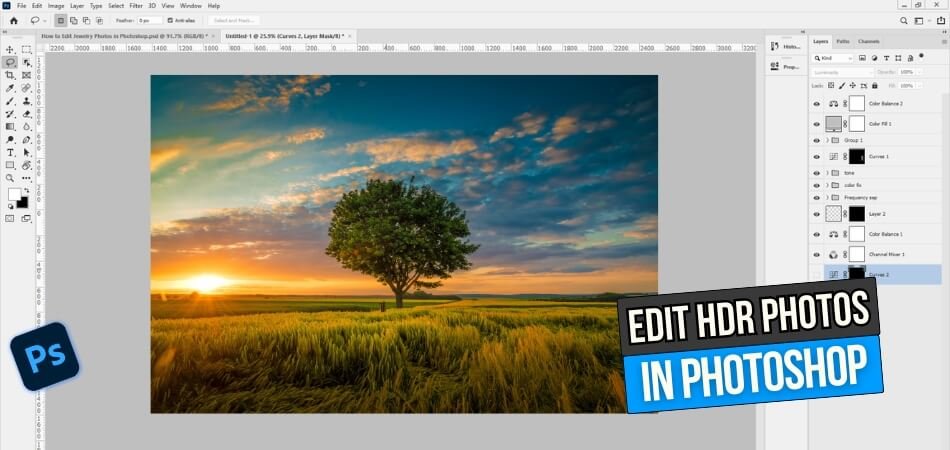
How to Edit HDR Photos in Photoshop?
A simple edit in Photoshop can transform your HDR images into vibrant and detailed images that can’t be achieved with standard photos. This process involves combining several exposures to create a single image with optimal light and color balance. Here’s how you can harness the power of Photoshop to optimize your HDR photography:
Step 1: Install Adobe Photoshop
Begin by installing Adobe Photoshop on your computer. This software is essential for HDR editing as it contains all the necessary tools. Take advantage of the latest HDR features by updating your version.
Step 2: Open Your Images
To open the intended images go to ‘File’ and select ‘Open’, then choose your images. These should be different exposures of the same scene to capture a range of light conditions.
Step 3: Automate Merge to HDR Pro
Simply go to ‘File’, then ‘Automate’, and select ‘Merge to HDR Pro’. This tool automatically aligns and combines your selected images. It creates a single HDR image by using the most appropriate light and color from each exposure.
Step 4: Adjust HDR Settings
Once your images are merged, a dialog box will appear with options to fine-tune the HDR effect. Adjust settings like edge glow, radius, strength, and tone balance. Play around with these settings to maximize your photo’s dynamic range and detail.
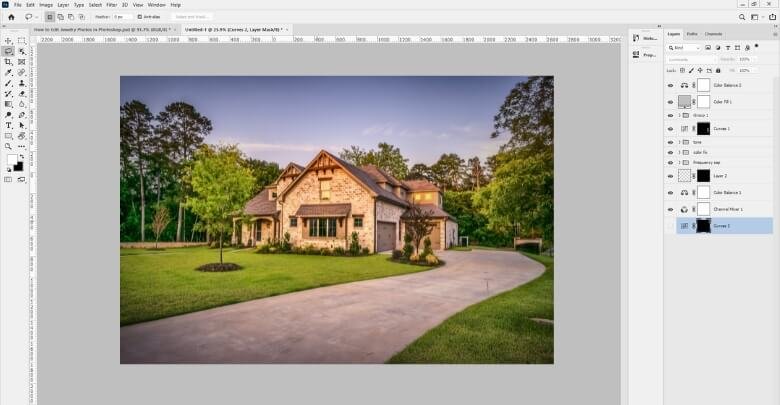
Step 5: Refine with Adjustment Layers
You can further refine your HDR photo by using adjustment layers for targeted edits without altering the original. Layers like Brightness/Contrast, Curves, and Levels can help tweak the final image to your liking. This step is crucial for personalizing the HDR effect.
Step 6: Finalize and Save Your Work
After making all the desired adjustments, it’s time to save your work. Choose ‘File’, then ‘Save As’, and select the desired format and location for your HDR image. Saving in formats like TIFF or PSD preserves quality and allows further editing later.
By following these steps, you can effectively edit HDR photos in Photoshop, bringing out the full potential of your images with precision and creative control.
Factors to Consider While Editing HDR Photos
The editing of HDR photos offers a unique opportunity to capture and refine images with extraordinary detail and luminosity. The benefits of HDR editing are evident as the process becomes easier due to the broad range of light and color they provide. However, there are several key factors to consider to ensure the finest results, such as maintaining natural tones and avoiding over-processing.
- Dynamic Range Adjustment: Maximizing dynamic range is crucial. Ensure that both the darkest and brightest parts of your image are visible and detailed.
- Color Balance: Maintain natural-looking colors. Adjust the saturation and hues to avoid overly artificial or surreal colors unless intended.
- Noise Reduction: HDR processing introduces noise. Use noise reduction tools sparingly to preserve image detail and texture.
- Alignment of Layers: Ensure all layers are perfectly aligned. Misalignment can create ghosting effects, especially with moving subjects in the frame.
- Tone Mapping: Tone mapping is essential for realism. It helps in converting the HDR image to a format suitable for standard displays without losing detail.
HDR photos can be improved through editing. By considering these factors, you ensure the final product retains its natural appeal and dramatic impact, making your photo editing efforts both successful and satisfying.
Mastering HDR Editing Skills in Photoshop – Tips and Tricks
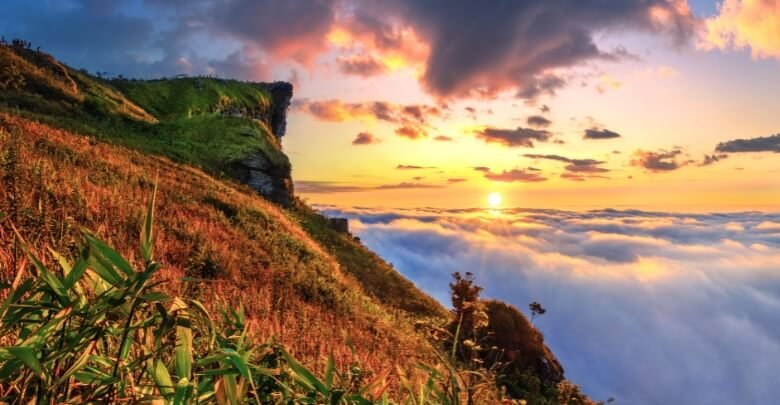
The ability to master HDR editing in Photoshop allows you to reveal fine details and vibrant textures in your photos that would otherwise be lost. When you combine exposures, you amplify shadows and highlights, resulting in a stunning dynamic range. Here are some practical tips and tricks that will refine your HDR editing skills:
Use a Tripod for Stability
Stability is key when shooting HDR. A tripod ensures that each exposure aligns perfectly with the others. This reduces ghosting and optimizes image quality. Avoid handheld shots to minimize misalignment.
Shoot in RAW Format
Always capture images in RAW format for HDR editing. RAW files contain more data, providing greater flexibility during editing. You’ll have more control over exposure adjustments and white balance settings. This detail is vital for high-quality HDR images.
Explore HDR Pro Settings
Explore Photoshop’s ‘Merge to HDR Pro’ feature. Experiment with different presets to learn about their effects. Adjust the ‘Edge Glow’ to make details pop without overdoing them. Balance ‘Strength’ and ‘Radius’ to get the right texture and clarity.
Refine with Selective Editing
After merging, don’t rely solely on global adjustments. Use selective editing tools like the adjustment brush to fine-tune specific areas. This approach helps manage overexposed skies or underlit foregrounds effectively. Tailor each section for a balanced composition.
Practice Non-Destructive Editing
Utilize layers and masks for non-destructive editing. This method allows you to make changes without altering the original image data. Layers are especially useful for applying and tweaking effects incrementally. Revert any step without losing overall progress easily.
You can dramatically improve your photographic outputs by mastering HDR editing in Photoshop. With practice, you can showcase stunning views and scenes with rich details and colors. Keep experimenting with these tips to hone your technique and develop your unique editing style.
Frequently Asked Questions about How to Edit HDR Photos in Photoshop?
Here are some of the FAQs and their relevant answers for a clear concept of how to edit hdr photos in Photoshop:
Can You Change the HDR Photo to Normal?
Yes, you can convert an HDR photo to a normal image by reducing its dynamic range. In Photoshop, you can do this by adjusting the exposure, contrast, and highlights to make the image look more like a standard photo.
Is Tone Mapping the Same as HDR?
No, tone mapping is a technique used in HDR photography to compress the wide dynamic range of HDR images into a viewable format, while HDR refers to capturing and combining multiple exposures to achieve a higher dynamic range.
Can You Save an HDR Photo in Photoshop as a Different File Format?
Yes, you can save an HDR photo in Photoshop as a different file format by going to File > Save As. Choose the desired file format (e.g., JPEG, PNG, TIFF) from the format dropdown menu and click ‘Save’.
Can You Apply Selective Edits to an HDR Photo in Photoshop?
Yes, you can apply selective edits to an HDR photo in Photoshop using layer masks. By creating a layer mask and painting on it with black or white, you can selectively apply edits to specific areas of the image.
Are There Any Recommended Photoshop Plugins for Editing HDR Photos?
Yes, there are several plugins specifically designed for editing HDR photos in Photoshop, such as Photomatix Pro, Aurora HDR, and Nik Collection’s HDR Efex Pro. These plugins offer additional features and presets to simplify your HDR editing workflow.
Can I Convert HDR Photos to Black and White in Photoshop?
Yes, you can convert HDR photos to black and white in Photoshop using the Black & White adjustment layer or by desaturating the image and adjusting the contrast and tones manually.
Final Verdict
The art of HDR photo editing in Photoshop opens up a wide range of possibilities for photographers. Throughout the entire process, you will receive instructions on how to capture the full spectrum of light and shadows as well as refine the final details.
There are some key techniques to master, including the use of a tripod for stability, shooting in RAW format, and exploring Photoshop’s ‘Merge to HDR Pro’ settings.
Enhance your images’ dynamic range and visual appeal by learning “How to edit HDR photos in Photoshop?” This tutorial not only simplifies the editing process but also encourages you to achieve professional-quality results.