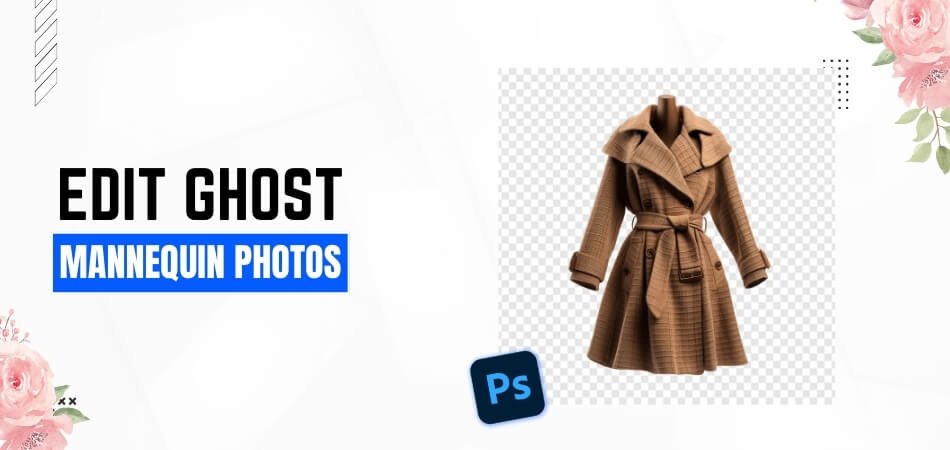
Ghost mannequin images are a game changer in professional photography services. You can use ghost mannequin photos and make a seamless presentation of your apparels. This will bring in the life-like and three-dimensional appearance without the distraction of a mannequin. But, how to edit ghost mannequin photos like a professional?
The whole process involves a series of steps. You need to take into use Photoshop layers, selection tools, refine masks and combine image function for that perfect ghostly effect. Let’s slide down and get to know the whole process in details.
Main Purpose of Editing Ghost Mannequin Photos
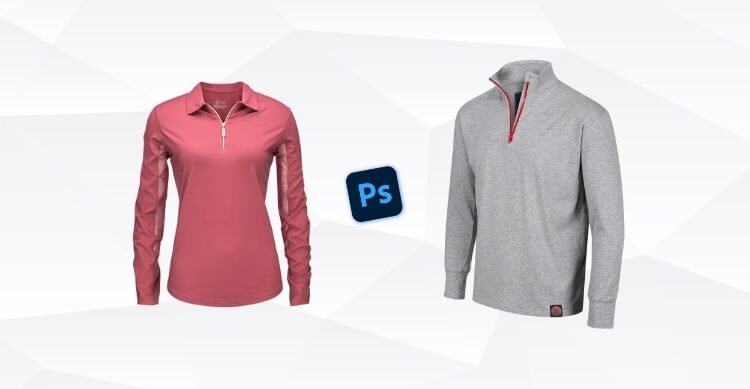
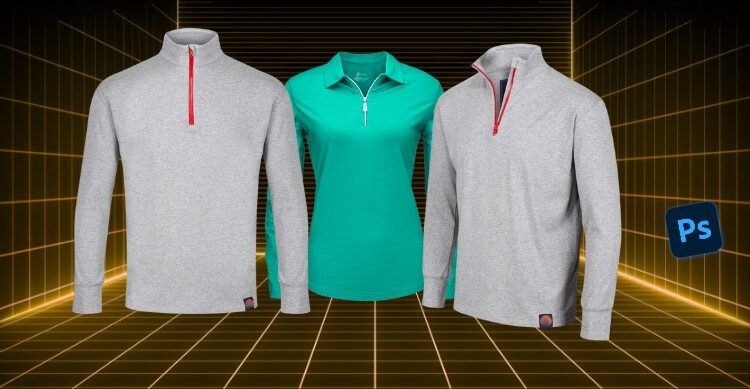
Ghost mannequin showcase the clothing items without any destruction. They bring in the true shape, style, and fit of the cloth into the limelight. Visitors will get the illusion that the cloth is floating in the air. It will become easier for the buyers to visualize themselves wearing the item.

Ghost mannequin editing do help to create a consistent and professional look across all product images. It will enhance the overall visual appeal of an online store or catalog. This method is particularly useful for e-commerce websites, where clear and attractive product images can significantly impact purchasing decisions.
Who Really Needs to Edit a Ghost Mannequin Photo?
It is not just a simple task to edit ghost mannequin photos. You are often going to see its use on fashion and e-commerce industries. They have been the best choice for many top brands. Let’s slide down and get to know who really needs to edit a ghost mannequin photo on a regular basis.

Fashion Designers and Brands
Fashion designers and brands are at the forefront of those who need ghost mannequin editing. By presenting their clothing items most attractively, they can mark the unique features and quality of their designs. This editing technique help them to create a strong visual impact. It is very important for brands to stand out in a competitive marketplace.
E-commerce Retailers
E-commerce retailers rely heavily on ghost mannequin photo editing effect to showcase their products online. Clear and detailed images are essential for online shopping, where customers can’t physically touch or try on the items. By using ghost mannequin photos, retailers can provide a realistic representation of their products. It will lead to increased customer trust and higher conversion rates.
Photography Studios
Photography studios specialize in product photography but they often need to edit ghost mannequin photos for their clients. These studios must produce high-quality images that accurately represent the products and also maintain the consistency across various shots. If you wish for a professional and polished look for your products, ghost mannequin can be the right choice for you.
Is There Any Variety in Editing Techniques for Ghost Mannequin Photos?
Yes, there is a variety of editing techniques for ghost mannequin photos. Each one is meant to meet different requirements. It is better for you to have a clear idea about them. Let’s take a closer look.

Basic Ghost Mannequin Editing
This technique take into use the simple adjustments such as cropping, color correction, and brightness/contrast enhancements. It is suitable for images that require minor tweaks to improve their overall appearance.
Advanced Ghost Mannequin Edit
If you have a more complex products, then you need to work with warping, shadow creation, and texture blending. These methods help in achieving a more realistic and three-dimensional look for the clothing items.
Customized Ghost Mannequin Editing
Fully customized ghost mannequin editing are done for premium stores. They are costly and need to meet unique customer need beyond market standard. In addition to advance ghost mannequin edit, you need to work with changing the background, adding logos, or change the color of the clothing.
How to Edit Ghost Mannequin Photos? [Step-by-Step Guide]
It is important skill to edit ghost mannequin photos for anyone looking to showcase clothing items in the most appealing way possible. This technique allows you to create a lifelike representation of your products. It will make them stand out in a crowded online marketplace. Let’s dive into the step by step process.

Step 1: Capture the Right Images
You need to have the right image before you start editing the ghost mannequin photos. You will need two sets of photos. One will be with clothing item on a mannequin and another with the item inside out on a foam board. Besides, you also need to ensure that both sets are taken under the same lighting conditions and from the same angle. This consistency is key to achieving a seamless final result.
Step 2: Open Your Files in Photoshop
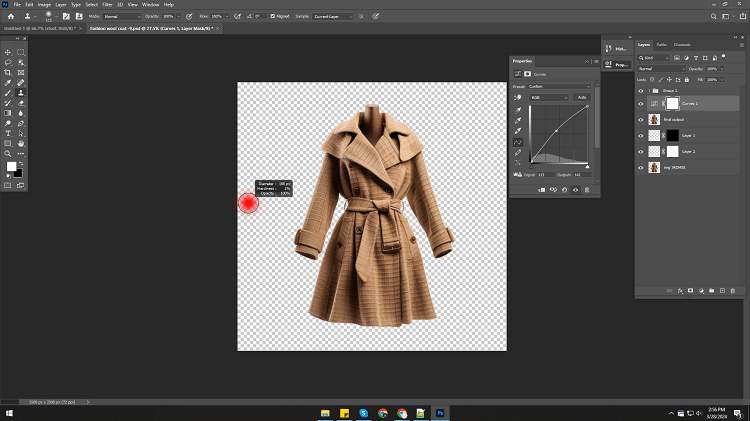
Once you have your images, open them in Adobe Photoshop. You can create separate layers for each photo to keep your workspace organized. This will allow you to edit each element independently. It will also make the whole ghost mannequin editing process more manageable.
Step 3: Use a Selection Tool to Select the Product
Next, you need to take into use the selection tool such as the Pen Tool or Quick Selection Tool. You will carefully select the clothing item in the mannequin image. In this process, you will select only the product and exclude the mannequin and background.
Step 4: Refine and Place Your Mask
After selecting the product, you need to refine the edges of your selection to ensure a smooth transition. After that, create a mask to isolate the clothing item from the rest of the image. Place this masked layer over the foam board image to start forming the ghost mannequin effect.
Step 5: Repeat Previous Steps
Repeat the selection and masking process with the foam board image. You will be working on the inner part of the clothing item this time. Carefully select and mask the area and position it underneath the first masked layer in your Photoshop workspace.
Step 6: Combine the Images
Now, it’s time to combine the two masked layers to create the ghost mannequin effect. Adjust the positioning and opacity of each layer as needed to ensure a natural look. This step might require some fine-tuning to get the perfect alignment.
Step 7: Remove Unnecessary Parts of the Foam Board Layer
Finally, remove any unnecessary parts of the foam board layer that might still be visible. You will use the Eraser Tool or add a mask to the layer to clean up the edges. It will ensure that only the desired parts of the clothing item are shown.
Step 8: Final Adjustments
Once you’re satisfied with the ghost mannequin effect, make any final adjustments to the image if required. This could include color correction, brightness/contrast adjustments, or sharpening to enhance the overall quality of the photo.
Where Can You Find the Best Ghost Mannequin Photo Editors?
The best ghost mannequin photo editors can make a significant difference in how your clothing items are presented. These professionals have the skills to create that perfect invisible mannequin effect. It will make your products look more appealing and realistic.

Professional Photo Editing Services
Companies like Visual Sparrow specialize in professional photo editing services. They have teams of experienced editors who can handle bulk orders while maintaining high-quality standards. You can go with them to ensure consistency and efficiency.
Freelance Platforms
Websites like Upwork, Fiverr, and Freelancer are great places to start. These platforms host a diverse range of freelance photo editors with high levels of expertise in ghost mannequin editing. You can browse through portfolios, read reviews, and communicate directly with freelancers to find the perfect match for your project.
Online Forums and Communities
Joining online photography or fashion forums can also lead you to talented ghost mannequin photo editors. Platforms like Reddit and Quora often have threads where professionals share their work and offer their services. Networking in these communities can help you discover hidden gems in the editing world.
Tips for Enhanced Ghost Mannequin Editing
You may already know the ghost mannequin editing process. But the right tips will improve the presentation of your clothing items. If you are a professional photographer or e-commerce retailer, you will find it very beneficial for your need. Let’s slide down to the main details.
- Pay Attention to Lighting: Consistent lighting is important for both the mannequin and the inside-out shots. You need to ensure that the lighting is even and shadows are minimal to avoid discrepancies in the final image.
- Use High-Quality Images: Start with high-resolution images to ensure that the details of the clothing are clear and sharp. This will make the ghost mannequin editing process smoother and the final result more professional.
- Maintain Color Consistency: Make sure that the colors of the clothing remain consistent throughout the editing process. Take into use color correction tools to adjust any discrepancies and ensure that the product looks true to life.
- Focus on Details: Pay close attention to the edges and details of the clothing. Refining tool is the perfect choice for a smooth result without any rough edges. It will make the final image look polished.
- Create Natural Shadows: Natural shadows can give the clothing a more three-dimensional look. You should experiment with different shadow techniques to find the one that looks the most natural for your product.
Frequently Asked Questions (FAQs)
Ghost mannequin photo editing will create images that truly showcase the beauty of your clothing items. Some of the common question related to this topic is answered below. Let’s have a closer look at them.
Can Visual Sparrow Create the Ghost Mannequin Effect with Only Partial Shots?
Yes, Visual Sparrow skilled team can manage to provide a flawless Ghost Mannequin effect even if you lack shots for specific inner parts. They can help you to get stunning final output even if you only have the partial shots of the garments.
How Does Visual Sparrow Address Additional Imperfections in Ghost Mannequin Process?
Ghost mannequin removal can face issues like wrinkles, dust, spots, and uneven folds. We can optimize the product for its final output through cropping, resizing, straightening, shadow removal, and reshaping.
What Is the Difference Between Transparent and Removable Ghost Mannequins?
Transparent Mannequins are see-through option for professional product photography. But removable ghost mannequin capture separate shots of the garment parts. It will be combined later in Photoshop for a 3D effect.
How Long Does It Take to Edit a Ghost Mannequin Photo?
The time required to edit a ghost mannequin photo depend on the complexity of the image and the level of detail needed. On average, it can take anywhere from 30 minutes to a few hours per image. The cost of ghost mannequin will also be adjusted accordingly.
What Software Is Best for Ghost Mannequin Editing?
Adobe Photoshop is the most commonly used software for ghost mannequin editing. You will also find many ghost mannequin online editing options. But if you need a top-notch quality, then you need to go for the Adobe Photoshop software.
Final Thought
You already have a clear idea how to edit ghost mannequin photos. They are one of the most popular method to showcase clothing items professionally and appealingly. I have already shared with you the step by step guide that you can follow to edit ghost mannequin effect.
Pay attention to lighting, color consistency and natural shadows when you are working with ghost mannequin photos. Follow the tips and create a stunning apparel visual for your online store. Stay with us for updates shortly.