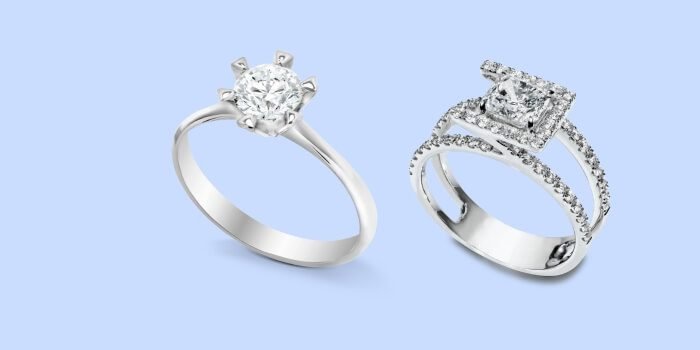
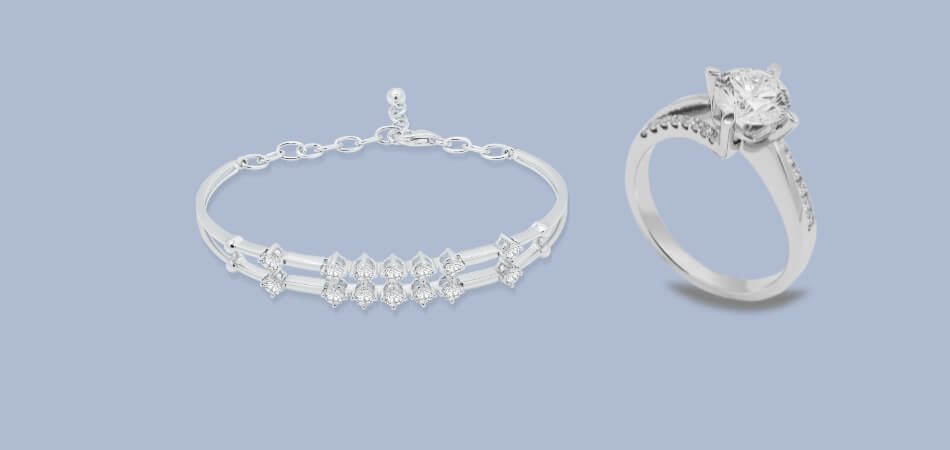
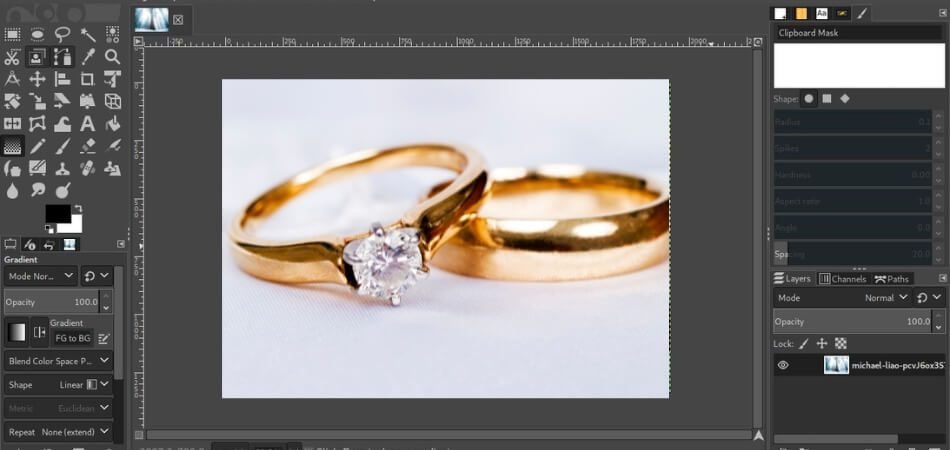
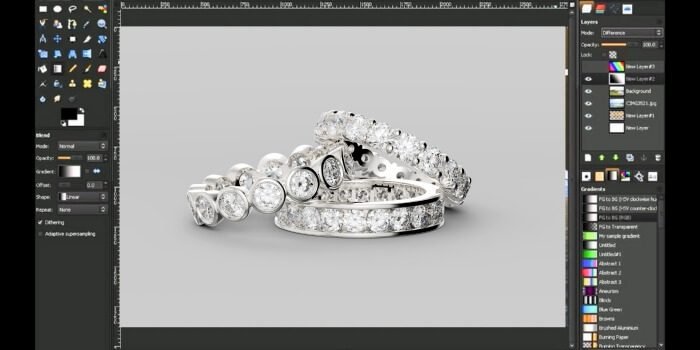
Jewelry photography is an art that requires precision and attention to detail. One tool that can enhance the beauty of your jewelry photos is GIMP, a free and powerful image editing software. If you’re wondering how to edit jewelry photos in GIMP, the process is quite easy.
Simply start by downloading and installing GIMP, then importing your image. Use the Clone tool to remove any imperfections, adjust levels and curves to improve contrast, apply sharpening filters to bring out clarity, and finally, enhance the colors with Hue-Saturation adjustments.
Continue reading to uncover all the tips and tricks for creating stunning jewelry photos with GIMP.
Importance of Jewelry Editing in the Modern Era
Jewelry editing has become a key component of online retail in today’s digital age. High-quality images can significantly enhance product perceived value. Consequently, many businesses are turning to high-end jewelry photo retouching to ensure their offerings stand out.

These services provide unparalleled precision and attention to detail. They can transform a good photo into a stunning one, making each piece look its best. This is especially important in an era where consumers make quick judgments based on visuals.
With the rise of social media and e-commerce, the demand for flawless jewelry images is higher than ever. A well-edited photo can capture the intricacies and beauty of a piece, enticing potential buyers.
Thus, investing in professional editing services is a wise choice for any jewelry business looking to thrive in the modern marketplace.
Is GIMP Good for Photo Editing?
Yes, GIMP is good for photo editing. It is powerful, open-source software that offers a wide range of tools for enhancing and manipulating images. Professionals and hobbyists alike turn to GIMP for its versatility and cost-effectiveness. Listed below are some reasons to use GIMP:

Versatility in Editing
GIMP provides comprehensive photo editing tools. Users can adjust colors, contrast, and brightness to enhance their images. It also supports layers and masks, allowing complex edits and composites.
Support for Various Formats
The software is compatible with a multitude of file formats, including JPEG, PNG, and TIFF. This flexibility ensures that users can work with virtually any type of image file. GIMP also offers the ability to export images in different formats.
Customization and Extensibility
GIMP’s interface is highly customizable to suit individual workflows. Users can add or remove toolbars and dockable dialogs as needed. Additionally, a wide range of plugins and scripts are available to extend GIMP’s functionality.
Cost-Effective Solution
Being open-source software, GIMP is free to download and use. This makes it an attractive option for individuals and businesses looking for a cost-effective photo editing solution. There’s no need to invest in expensive software licenses.
Community Support
GIMP has a large and active user and developer community. This community provides a wealth of tutorials, tips, and support for new users. Anyone can contribute to software development and improvement.
Essential Tools for Editing Jewelry Photos in GIMP
GIMP is a versatile tool for editing jewelry photos, offering a range of features to enhance each piece’s beauty. With its user-friendly interface and powerful capabilities, GIMP is a popular choice for professionals and hobbyists alike. Here are some essential tools for editing jewelry photos in GIMP:
- Clone Tool: This tool is suitable for removing blemishes or imperfections from jewelry photos. It can replicate texture from one area to another.
- Levels Adjustment: Adjusting levels is crucial for achieving the right contrast and brightness in jewelry photos. It helps in making the details pop.
- Curves Tool: The Curves tool allows fine-tuning exposure and color balance. It’s essential for adding depth and dimension to images.
- Sharpen Filter: To enhance the clarity and detail of jewelry photos, the Sharpen filter is invaluable. It makes the edges crisper and more defined.
- Hue-Saturation Adjustment: This tool is great for adjusting the colors of the jewelry. It can make the gemstones and metals more vibrant.
- Crop Tool: Cropping is important for framing the jewelry correctly. It helps in focusing the viewer’s attention on the piece.
The GIMP provides a comprehensive set of tools for editing jewelry photos. With these essential tools, you can bring out the best in your jewelry images, making them more appealing to potential customers.
How to Edit Jewelry Photos in GIMP?
The GIMP program, renowned for its versatility, serves as a powerful tool for refining jewelry photos, akin to photo editing with Photoshop. Its extensive editing capabilities enable meticulous adjustments and imaginative enhancements. Below, we outline a step-by-step process for editing jewelry photos in GIMP:

Step 1: Import and Prepare the Image
Begin by opening your jewelry photo in GIMP. Use the Crop tool to frame the piece correctly, removing any unnecessary background elements. This step ensures that the focus is solely on the jewelry. Make sure the image is at a high resolution for better editing results.
Step 2: Remove Imperfections
Utilize the Clone Tool to eliminate any blemishes or imperfections on the jewelry. Carefully select a nearby area as the source and clone it over the imperfection. This will create a seamless and flawless appearance. Pay extra attention to areas with reflections or intricate details.
Step 3: Adjust Levels and Curves
You can go to the Levels and Curves adjustments to enhance the image’s contrast and brightness. This will make the jewelry stand out more and give it a dynamic look. Be cautious not to overdo the adjustments, as it may lead to an unnatural appearance.
Step 4: Enhance Sharpness
Apply the Sharpen filter to bring out jewelry details. This is particularly helpful for highlighting intricate designs and textures. Adjust the sharpening level to achieve the desired clarity without introducing noise.
Step 5: Color Correction
Use the Hue-Saturation tool to adjust the jewelry colors. This can help in making gemstones and metals look more vibrant and true to life. Be mindful of natural color balance. It’s important to achieve a realistic representation of the jewelry’s colors.
Step 6: Save and Export
Once satisfied with the edits, save your work in the desired format. GIMP offers various options for exporting, ensuring compatibility with different platforms and devices. Consider saving a copy of the edited image in GIMP’s native format (.xcf) to preserve the ability to make further adjustments in the future.
By following these steps, you can significantly enhance the visual appeal of your jewelry images, making them more attractive to potential customers.
Common Issues in Photo Editing with GIMP – How to Overcome It?
Photo editing with GIMP can be a rewarding experience, offering a range of tools for enhancing images. However, users may encounter some common issues while managing this software. To overcome these challenges, follow these tips:

Complex Interface
New users might find GIMP’s interface overwhelming due to its numerous options. Familiarize yourself with the basic tools and explore more advanced features. Customizing the interface to suit your workflow can simplify the process. Online tutorials and forums are great resources for learning.
Color Management
Achieving accurate color representation can be tricky in GIMP. Ensure your monitor is calibrated correctly for a true-to-life display. Utilize GIMP’s color management settings to match the colors in your print output. Regularly updating your color profiles can also help maintain consistency.
Limited RAW Support
GIMP doesn’t natively support RAW files, which can be a limitation for photographers. Use a separate RAW converter like UFRaw or Darktable to process your RAW images before editing them in GIMP. This extra step ensures you retain the maximum image quality.
Performance Issues
GIMP can sometimes be slow, especially with large files or complex edits. Increase your computer’s memory allocation for GIMP to improve its performance. Closing other applications while using GIMP can also help. Regularly saving your work prevents unexpected crashes.
Learning Curve
GIMP’s wide range of features comes with a steep learning curve. Start with simple projects to build your confidence. Practice regularly and experiment with different tools and techniques. Joining a GIMP community can provide support and inspiration.
Frequently Asked Questions about How to Edit Jewelry Photos in GIMP?
Here are some of the FAQs and their relevant answers for a clear concept of how to edit jewelry photos in GIMP:
Is It Possible to Remove Backgrounds From Jewelry Photos in GIMP?
Yes, you can use the Background Eraser tool in GIMP to remove backgrounds from jewelry photos, allowing you to place the jewelry on different backgrounds.
How Can I Remove Dust and Scratches From Jewelry Photos in GIMP?
You can use the Healing Brush or Clone Stamp tool in GIMP to remove dust and scratches from jewelry photos, restoring them to their original beauty.
Is There a Way to Add a Glossy or Matte Finish to Jewelry in GIMP?
Yes, you can use the Brush tool with a soft brush and low opacity to add a glossy or matte finish to jewelry in GIMP, giving it a more polished look.
Can I Resize and Crop Jewelry Photos Without Losing Quality in GIMP?
Yes, you can resize and crop jewelry photos in GIMP using the Image Size and Crop tools, ensuring that they maintain their quality.
How Can I Add Text or Logos to Jewelry Photos in GIMP?
You can use the Text tool in GIMP to add text or logos to jewelry photos, allowing you to personalize them for your brand or website.
Is It Possible to Create a 360-degree View of Jewelry Using GIMP?
While GIMP doesn’t have built-in support for creating 360-degree views, you can use it to edit individual images that can be stitched together later to create a 360-degree view.
How Can I Create a Watermark for My Jewelry Photos in GIMP?
You can use the Text tool in GIMP to create a watermark for your jewelry photos, adding a layer of protection and branding to your images.
Can I Use GIMP to Create Realistic Shadows for My Jewelry Photos?
Yes, you can use the Drop Shadow tool in GIMP to create realistic shadows for your jewelry photos, enhancing their depth and realism.
Final Thoughts
Mastering the art of jewelry photo editing is essential in today’s visually driven online marketplace. GIMP offers a powerful, user-friendly platform for enhancing jewelry images, providing a plethora of tools designed for precision and creativity.
During the process of learning “How to edit jewelry photos in GIMP?”, enthusiasts discover a versatile solution that uplifts the aesthetics of their products. The skill enables both individuals and businesses to produce stunning images that highlight each piece’s intricate details and beauty.
Overcoming the challenges presented by GIMP’s comprehensive suite of editing tools becomes simpler with practice and dedication. The result is a collection of striking jewelry photos that stand out, attracting and engaging potential buyers in a competitive digital world.