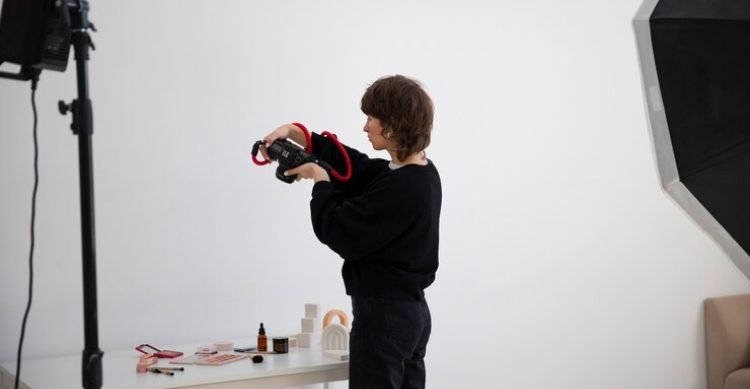
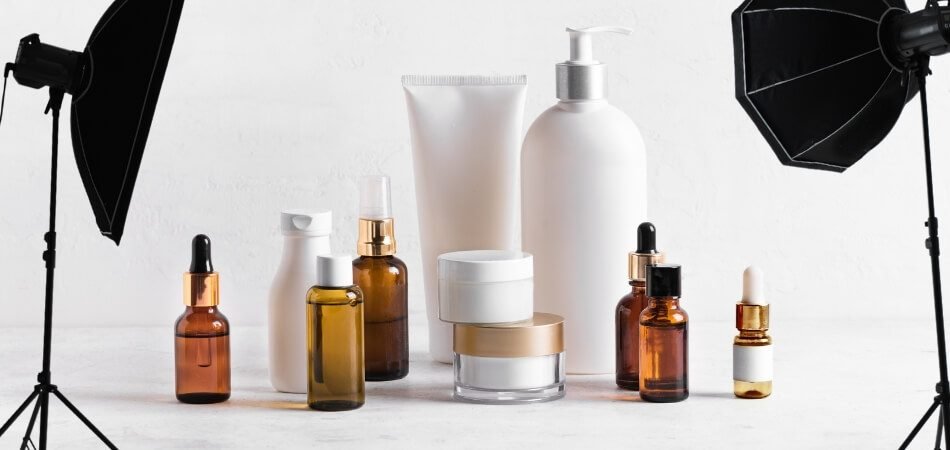
You need to choose a reliable camera for product photography. DSLR camera is one of the best choice when it comes to product pictures. But it is not always about capturing product images with great camera. You also need to know the right technique to capture product photos.
In this article, you will get to know about all the equipment that is essential to bring product to life. Besides having a good camera at your side, you will also need tripod for stability, proper light setup, and more. Let’s slide down and get to know the glimpse about what you need for product photography.
Product Photography: What is it?
Product photography is all about capturing images of products in a way that will increase their appeal. It is also essential for e-commerce and advertising purposes. Every customers like to see what they are buying without any marketing destruction.
The goal is to make the product look as attractive as possible. This type of photography can range from simple shots on a white background to more creative setups. It should tell a story that will resonate well with the potential customers.

Effective professional product photography for e-commerce business can make a substantial difference in how a product is perceived and can significantly impact sales. It’s not just about taking a picture.
You should also present the product in the best light possible. Next time you see a mouth-watering food advertisement or a stunning gadget online, you need to remember that all of it is the result of professional product photography.
How Diverse is Product Photography?
There is a wide range of product photography for you to work with. It is a diverse field and you also have the option to be creative as per market needs. Let’s slide down and get to know more details about it.
Types of Products
The nature of the product greatly influences the photography style. For example, you need to work with macro shots when you are working with jewelry photos. Similarly, you need to add on props to your images as a scale if you are working with furniture product photography.
Purpose of the Photography
The goal of the photography session also plays a major role. Most of the time, you are going to see product photos on e-commerce website, print catalogue and social media. Each platform may require a different style and focus in your product photos.
Creative Styles
Photographers often experiment with various creative styles. For example, you will see creative lifestyle shots that show the product in use. It will definitely point out product simplicity and elegance in a different way.
Can I Make Product Photography By Myself?
Yes, you can do product photography by yourself. Right tools and guideline can help you to create professional-looking photos that showcase your products effectively. Let’s break down some factors to consider.

Necessary Equipment
Invest in a good camera and a tripod for stable shots. You will also need natural light or some basic light equipment. A white background will help to keep the focus on the product. Besides, you also might need some props based on your requirements.
Learning the Basics
You need to be familiar with some basic photography principles. Composure, framing and exposure is very important for product photography. There are plenty of online tutorials and courses available to help you get started.
Practice and Experimentation
Practice will help you to improve your product photography with time. You should experiment with different angles, lighting setups, and backgrounds. It will help you to easily find what works best for your products. Don’t be afraid to try new things and learn from your mistakes.
What Equipment Do I Need for Product Photography?

Product photography is about showcasing your products in the most compelling way possible. If you are a small business owner or a budding photographer, you need to know what equipment you need for product photography.
Well, it’s not just about having a fancy camera. You’ll need a few other essential tools and gadgets to get those clear, and appealing images. Let’s dive into the specifics.
A Well Defined Camera
A good camera is the main foundation for product photography. You don’t necessarily need the most expensive model, but a camera with manual settings is a must. This allows you to control the aperture, shutter speed, and ISO. It will give you the flexibility to adjust the exposure and depth of field to suit your product. You can also capture product photos with a phone to achieve professional-looking results.
Tripod for Stability
A tripod is your best friend when it comes to stability. It eliminates shakiness of the camera, and you will get a sharp image at the end. Even if you are working in low-light conditions or slow shutter speeds, stable setup of camera will always be helpful. Besides. a tripod also allows you to maintain consistent framing and composition across multiple shots.
Lighting Systems
Lighting can make or break your product photos. Natural light is a great start. But you need to consider investing in some artificial lighting for more control. Softbox lights or LED panels can provide even light and reduce harsh shadows.
A Simple Background
A uncluttered background keeps the focus on your product. White background is the most popular choice and makes it easier to cut out the product during post-processing. You can use a seamless paper roll, a white sheet, or a lightbox for smaller items.
Reflectors and Diffusers
Reflectors help bounce light back onto your product. It will fill in shadows and bring out more details. On the other hand, diffusers will soften the light, and create a more even illumination. Both tools are essential for achieving professional-looking product photographs.
Editing Software
Post-processing is the final stage in product photography. In this step, you will take into use editing software like Adobe Photoshop or Lightroom. It is often considered the best photo editing software for e-commerce. You can use it to fine-tune various aspects such as exposure, color balance, and sharpness. Besides, these tools will also enable the removal of any blemishes or imperfections.
Self-Product Photography: How to Do It?
The experience of conducting a product photography session by yourself can be rewarding. It allows you to control the creative process. You will take care of the whole process of the product photography and that is not going to be an easy task.

So, you need to have some plan and preparation so that everything runs smoothly. Let’s walk through the steps that you need to conduct a successful product photography session.
Step 1: Planning the Whole Project
Start by deciding on the look and feel you want for your photos. You need to take into consideration the background, lighting, and any props you might need. Make a list of the things that you need for product photography.
Step 2: Setup the Project Equipment
Set up your shooting area with your chosen background and arrange your lighting. After that, you need to position your camera on a tripod to ensure stability. Besides, you should also make sure your product is clean and positioned correctly.
Step 3: Shooting At Your Best
Adjust the light and composition for each shots accordingly. Experiment with different angles and perspectives to showcase your product in the best way possible. Check your images after you are done with the photo session so that they meet the market standards.
However, if you find yourself overwhelmed with a bulk amount of product photography, you will need professional help. In that case, Visual Sparrow is a great option for those times when you need high-quality product photos but can’t handle the pressure of doing it all yourself. They can take the load off your shoulders and deliver stunning results.
Frequently Asked Questions (FAQs)
Product photography is a fascinating field that combines creativity with technical skills. Product photography equipment will determine how good your products images will look. Some of the common queries related to this topic is shared below. Let’s take a closer look.
Is Canva Good for Product Photography?
Canva can be a useful tool for product photography. Most often you are going to see its use for product promotional items. You can use template from Canva and present your product photos in the best light possible.
How Do I Set Up Lighting for Product Photography?
You should first set up the main light source. It can be a softbox positioned at a 45-degree angle to the product. You can also use a reflector on the opposite side to fill in shadows. Besides, you can also add additional lights or diffusers to control the overall look of the image.
What Background Should I Use for Product Photography?
A plain white background is often preferred because it keeps the focus on the product. It will also make the editing procedure easier for you. Experiment with color and texture to choose the right one depending on your style.
What Are Some Tips for Taking Clear Product Photos?
You need to use a tripod to prevent camera shake and ensure sharp images. Set your camera to a low ISO to reduce noise. Besides, you should also use a small aperture (high f-number) to achieve a greater depth of field.
Closing Remarks
You already know what equipment you need for product photography. It is essential to have the right equipment by your side. Camera with manual settings, a tripod, lighting, and a clean background will give you a highly professional product images.
Besides, you should also be careful with the planning and setting of the photography session. Practice with different lighting setups and angles to give a professional look to your product images. At the end, post-production session will give the final touch. Stay with us for more updates shortly.